Text recognition (OCR) with Adobe Acrobat Pro
Whether an uploaded PDF file contains text decides whether Librario’s full-text search can find it. If you scanned a publication yourself, or Librario shows the message “Recognised text is short. Please check the file.” on the file, run text recognition (OCR) on the PDF file.
Adobe Acrobat Pro is a program that many offices already have installed and that can recognise text. Don’t confuse it with the free Adobe Acrobat Reader.
Screenshots show Adobe Acrobat XI
The screenshots in this guide come from the German version of Adobe Acrobat XI Pro. Newer versions of Adobe Acrobat Pro have a similar layout; the names of the functions may differ slightly.
The example is a table of contents that Librario downloaded automatically during an import by identifier.
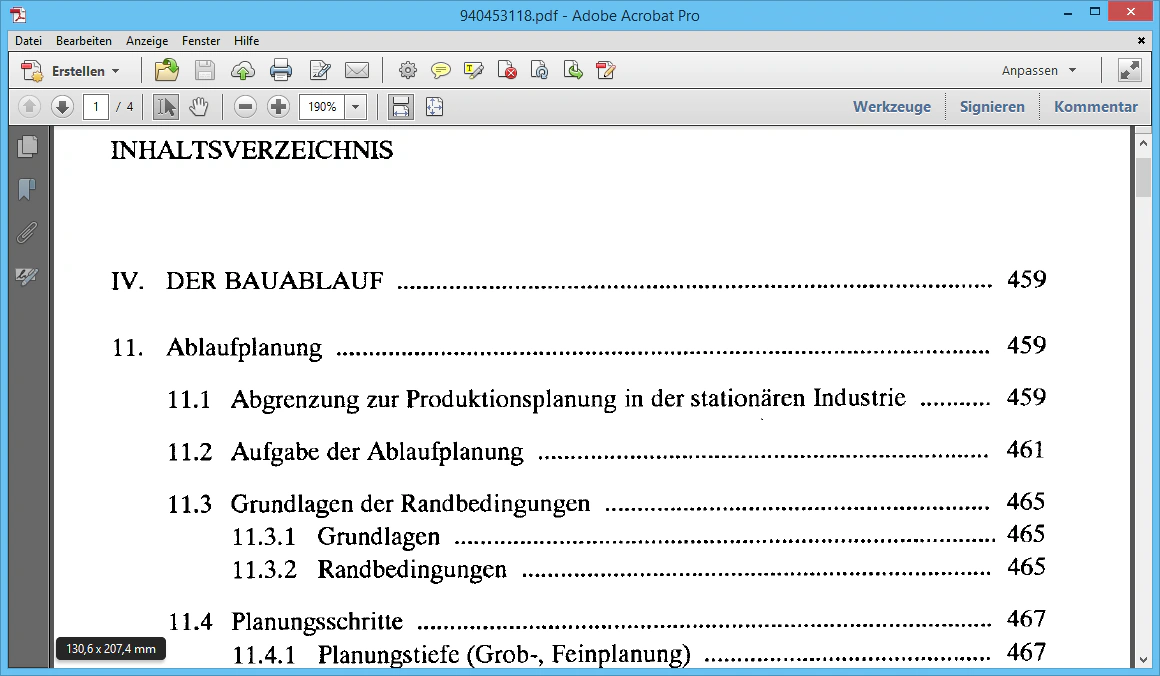
Screenshot of the German interface.
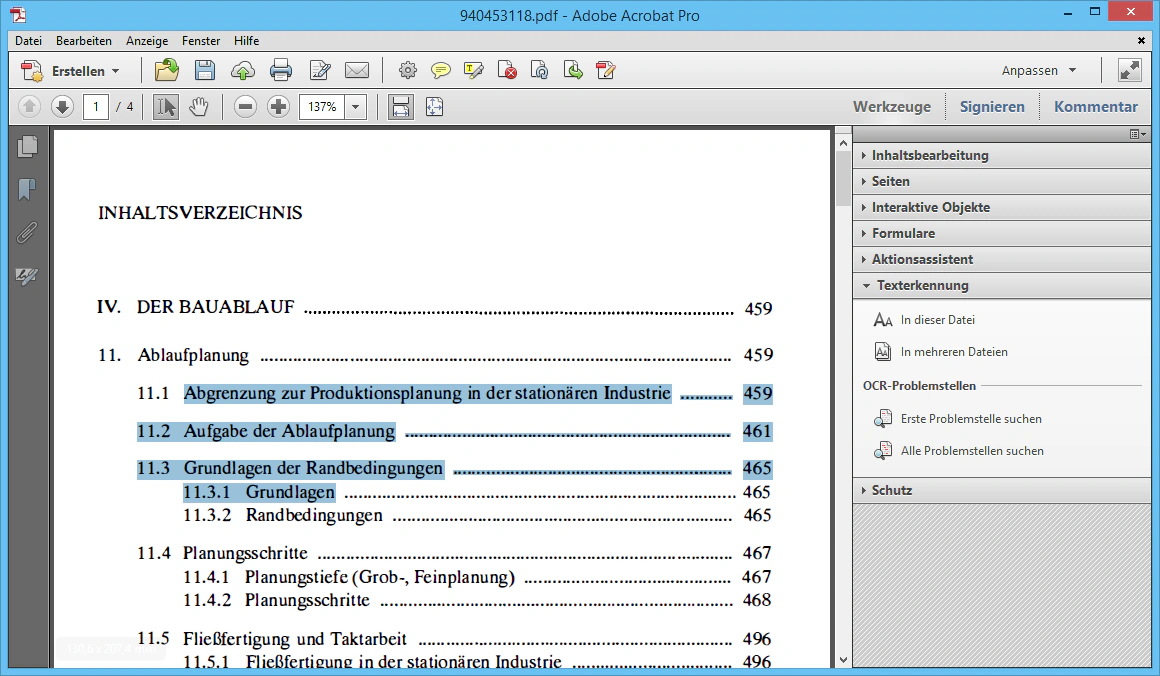
Step 1: Start text recognition
The Adobe Acrobat toolbar sits on the right-hand side. It holds the functions you use to edit PDF files. Click the “Text Recognition” tab and choose “In This File”.
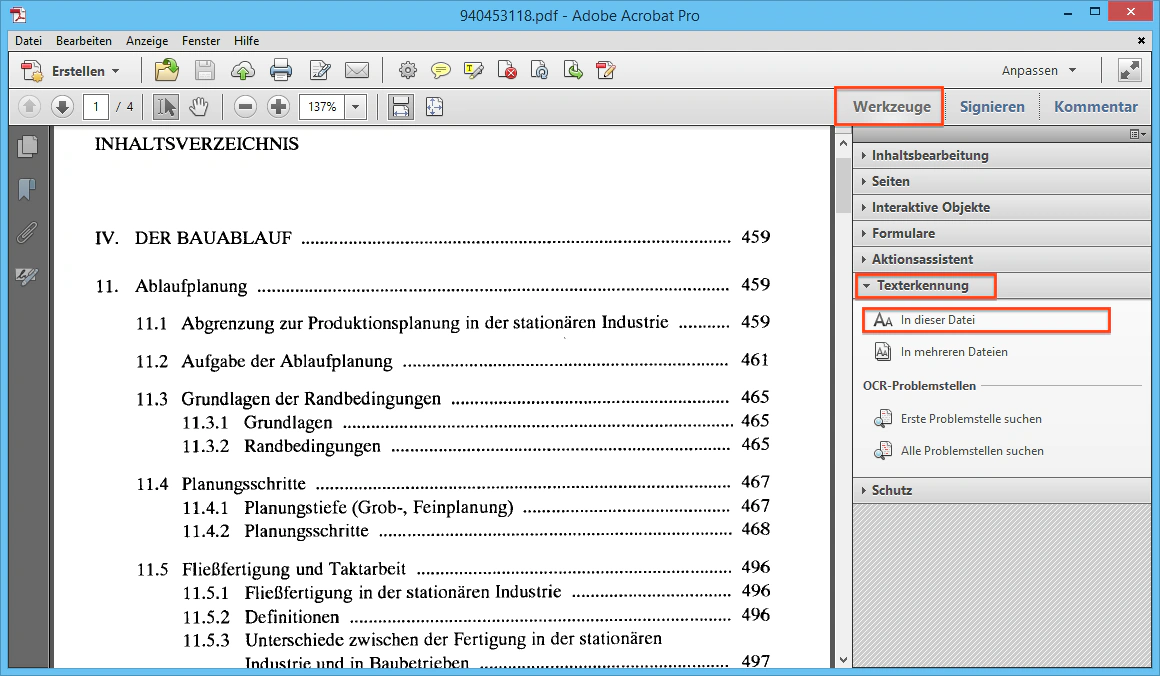
Screenshot of the German interface.
Step 2: Configure text recognition
Next, set up text recognition:
- The language of the document: Adobe Acrobat Pro uses a different vocabulary for each language, which helps it recognise the right characters and words.
- The PDF output style “ClearScan”: according to Adobe, the best option for PDF files that are as small and as little pixelated as possible.
- Downsample to: set it to the highest possible value.
Close both dialog boxes with “OK”.
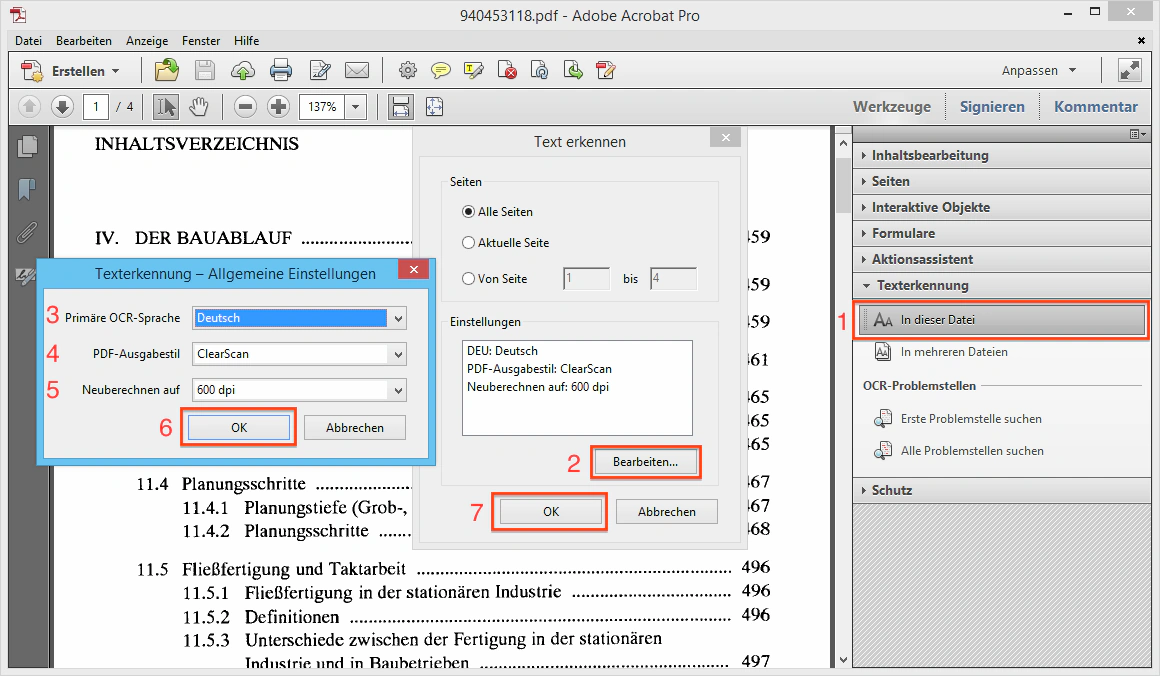
Screenshot of the German interface.
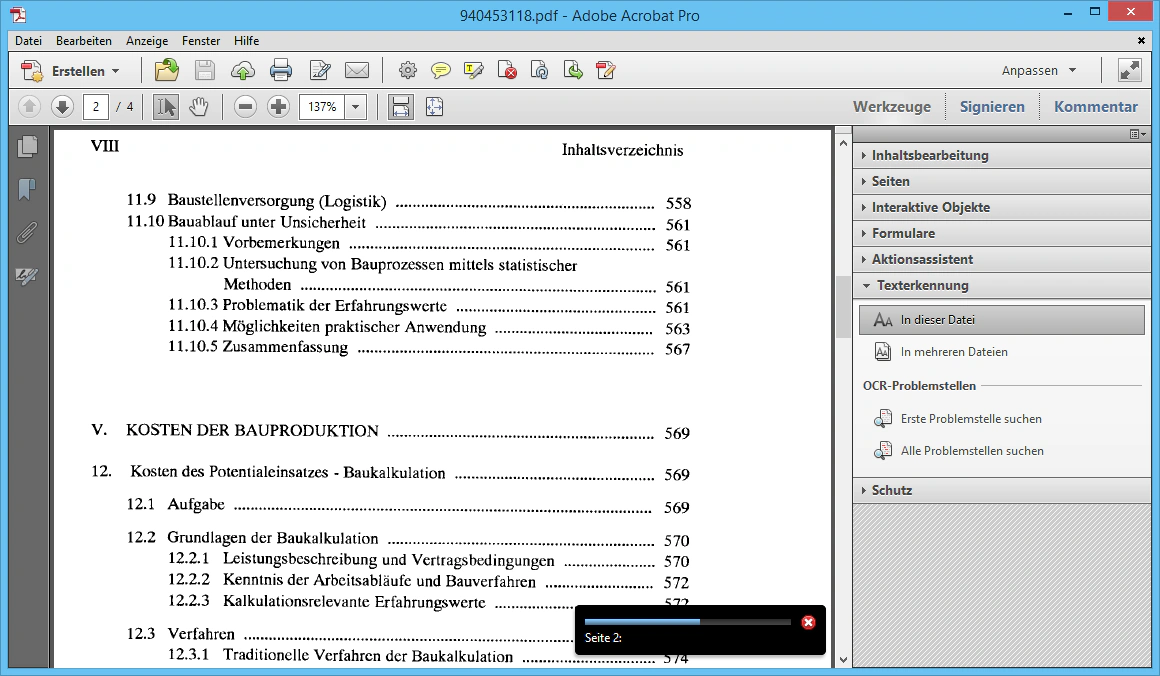
Screenshot of the German interface.
Screenshot of the German interface.
Step 3: Further optimisation
Text recognition is really all you need. Don’t forget to save the new PDF file.
You can optimise the PDF file further, though. The aim is to make the file as small as possible: the smaller the file, the faster users can download and open it from Librario later.
Use the “Optimize Scanned Documents” action in the Action Wizard for this. In the toolbar, click “Action Wizard” and then “Optimize Scanned Documents”.
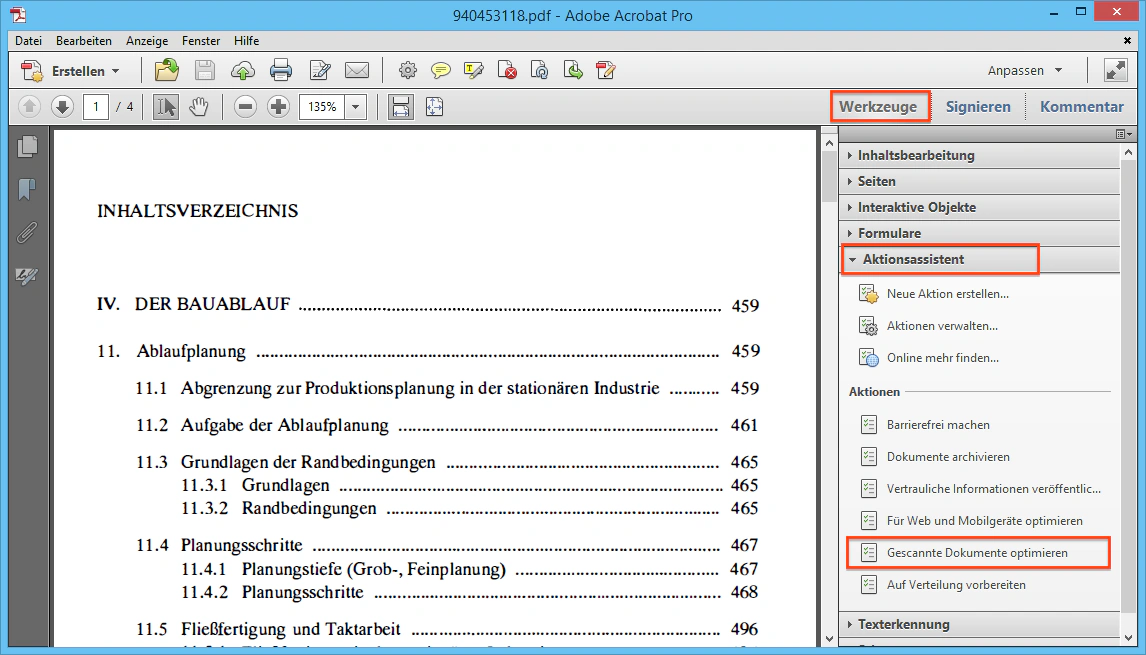
Screenshot of the German interface.
The wizard runs three steps:
- Add Document Description
- Optimize Scanned PDF
- Save As
Click “Start” to run the wizard.
Step 3a: Add a document description
Enter the title of the publication here, and the authors in the “Author” field. Librario reads this information back later as PDF metadata.
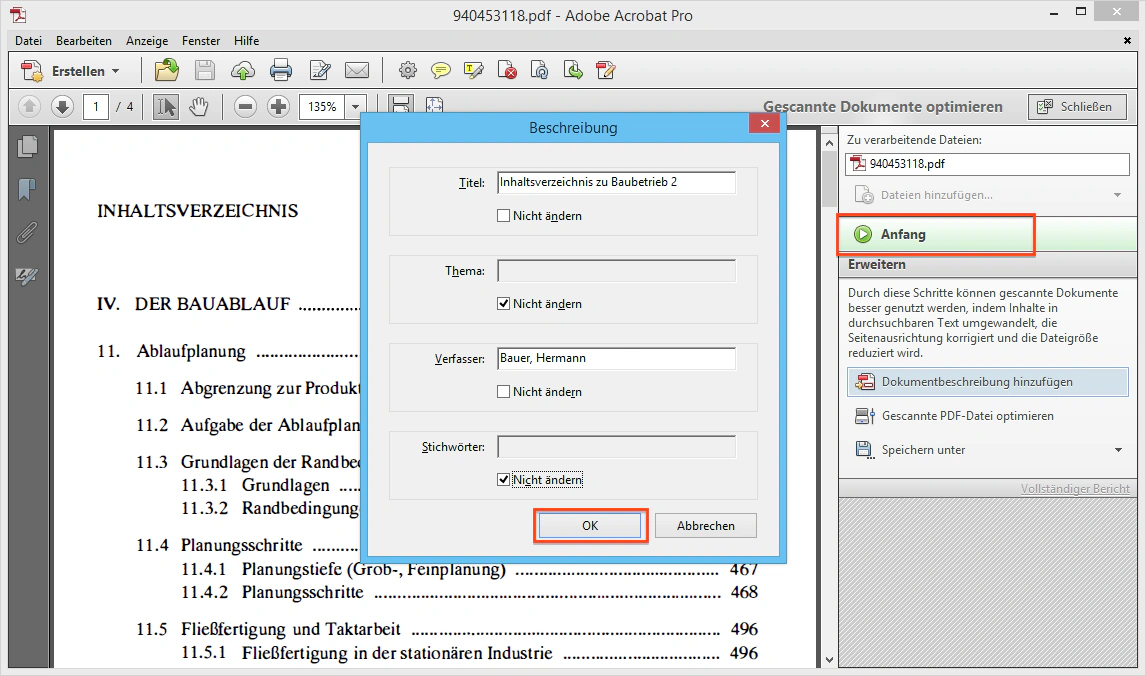
Screenshot of the German interface.
Step 3b: Optimise the scanned PDF
This step runs on its own and optimises the internal structure of the PDF file.
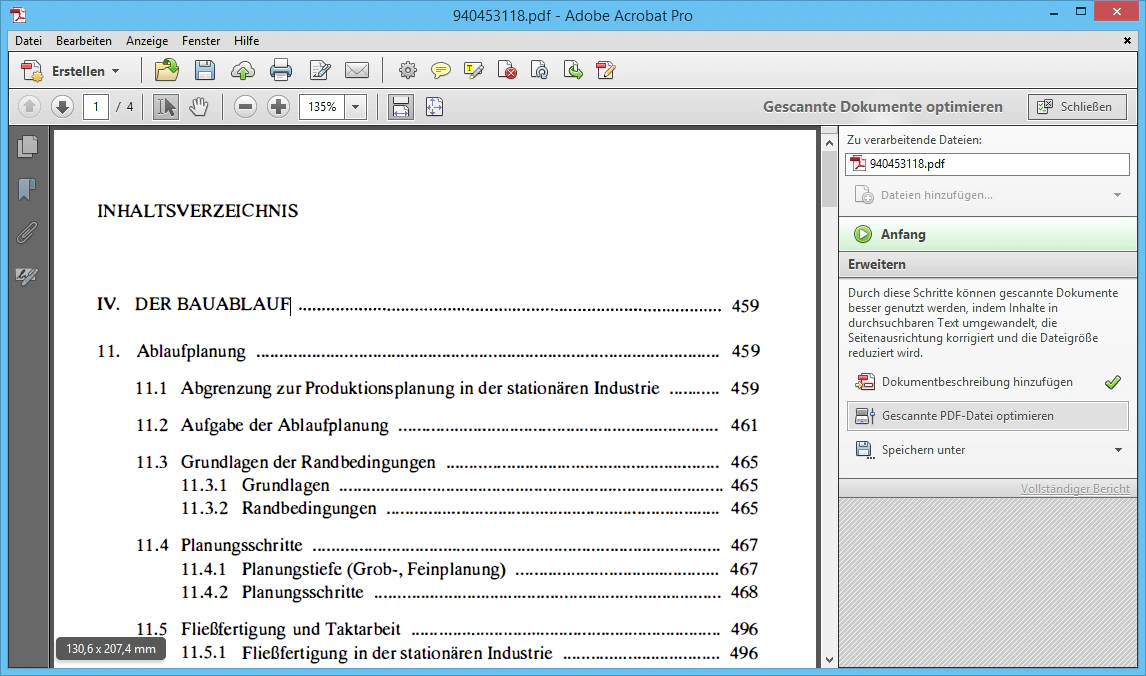
Step 3c: Save the file
Finally, save the new file. You can overwrite the old file or save the new one under a different name.
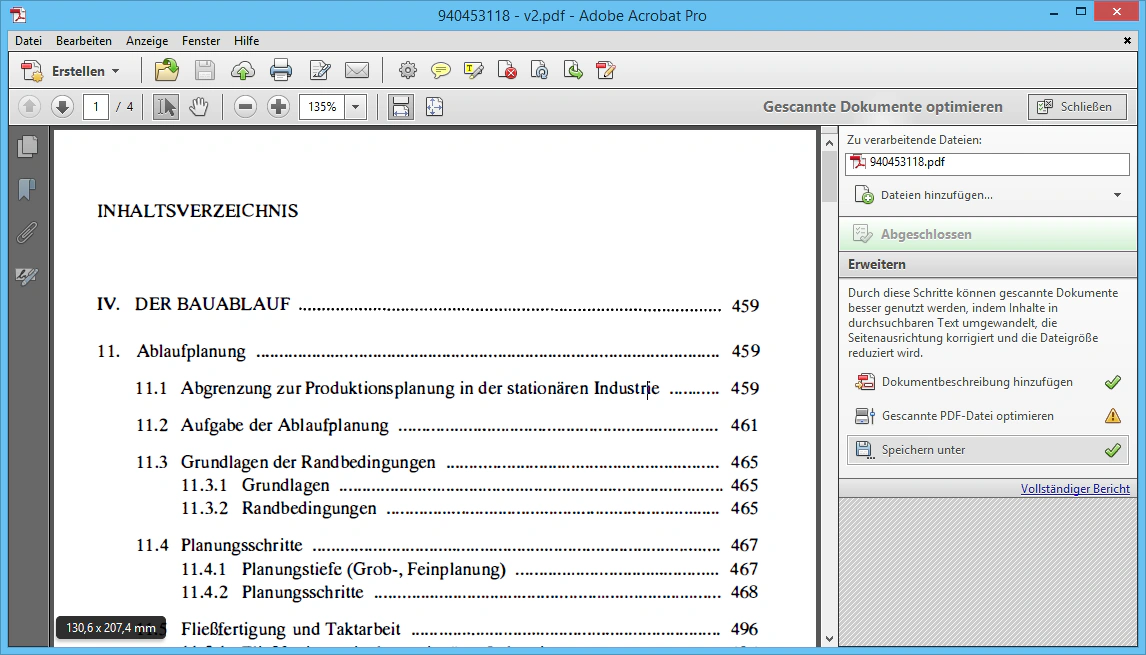
The result is a much smaller file (46% smaller in the example) that also looks better and that Librario’s full-text search can read.
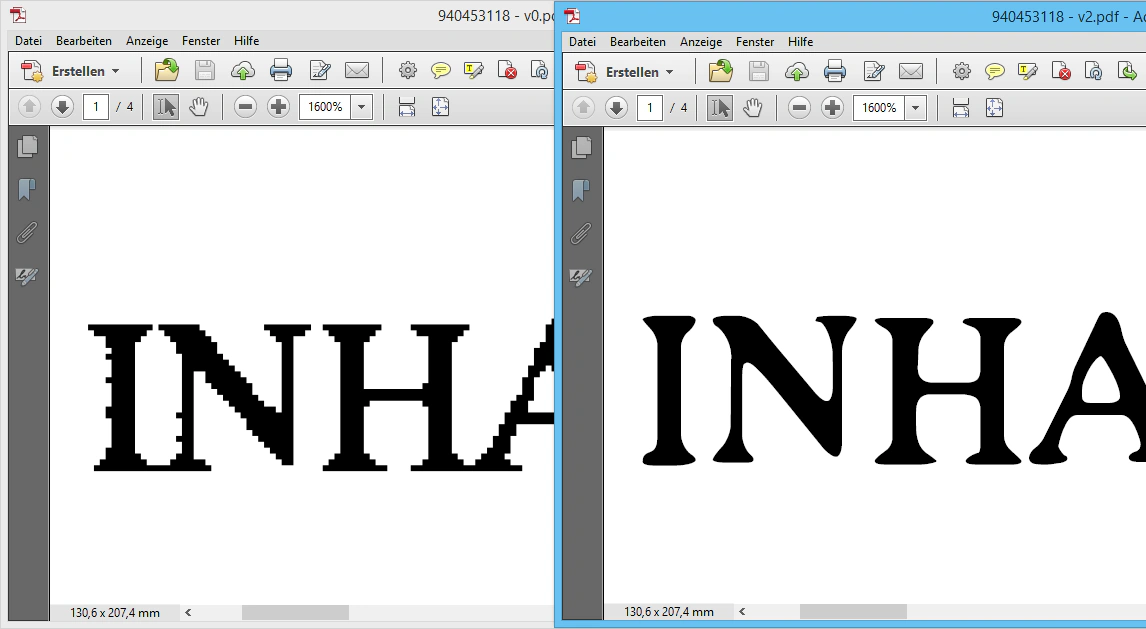
Screenshot of the German interface.
For general advice on searchable files, such as other OCR programs, scan settings and quality checks, see Optimising files for full-text search.