User management
As an administrator, you manage all user accounts of your organisation in one place.
User management overview
To open user management:
- Click the user icon in the top right
- Select Our account
- Click Invite more users or the number of users in the account overview. The Users page opens.
In user management you can:
- Find user accounts with the search bar (by the start of the name or the full email address)
- Create new user accounts
- Edit or delete existing user accounts
- Export the full user list as a CSV file
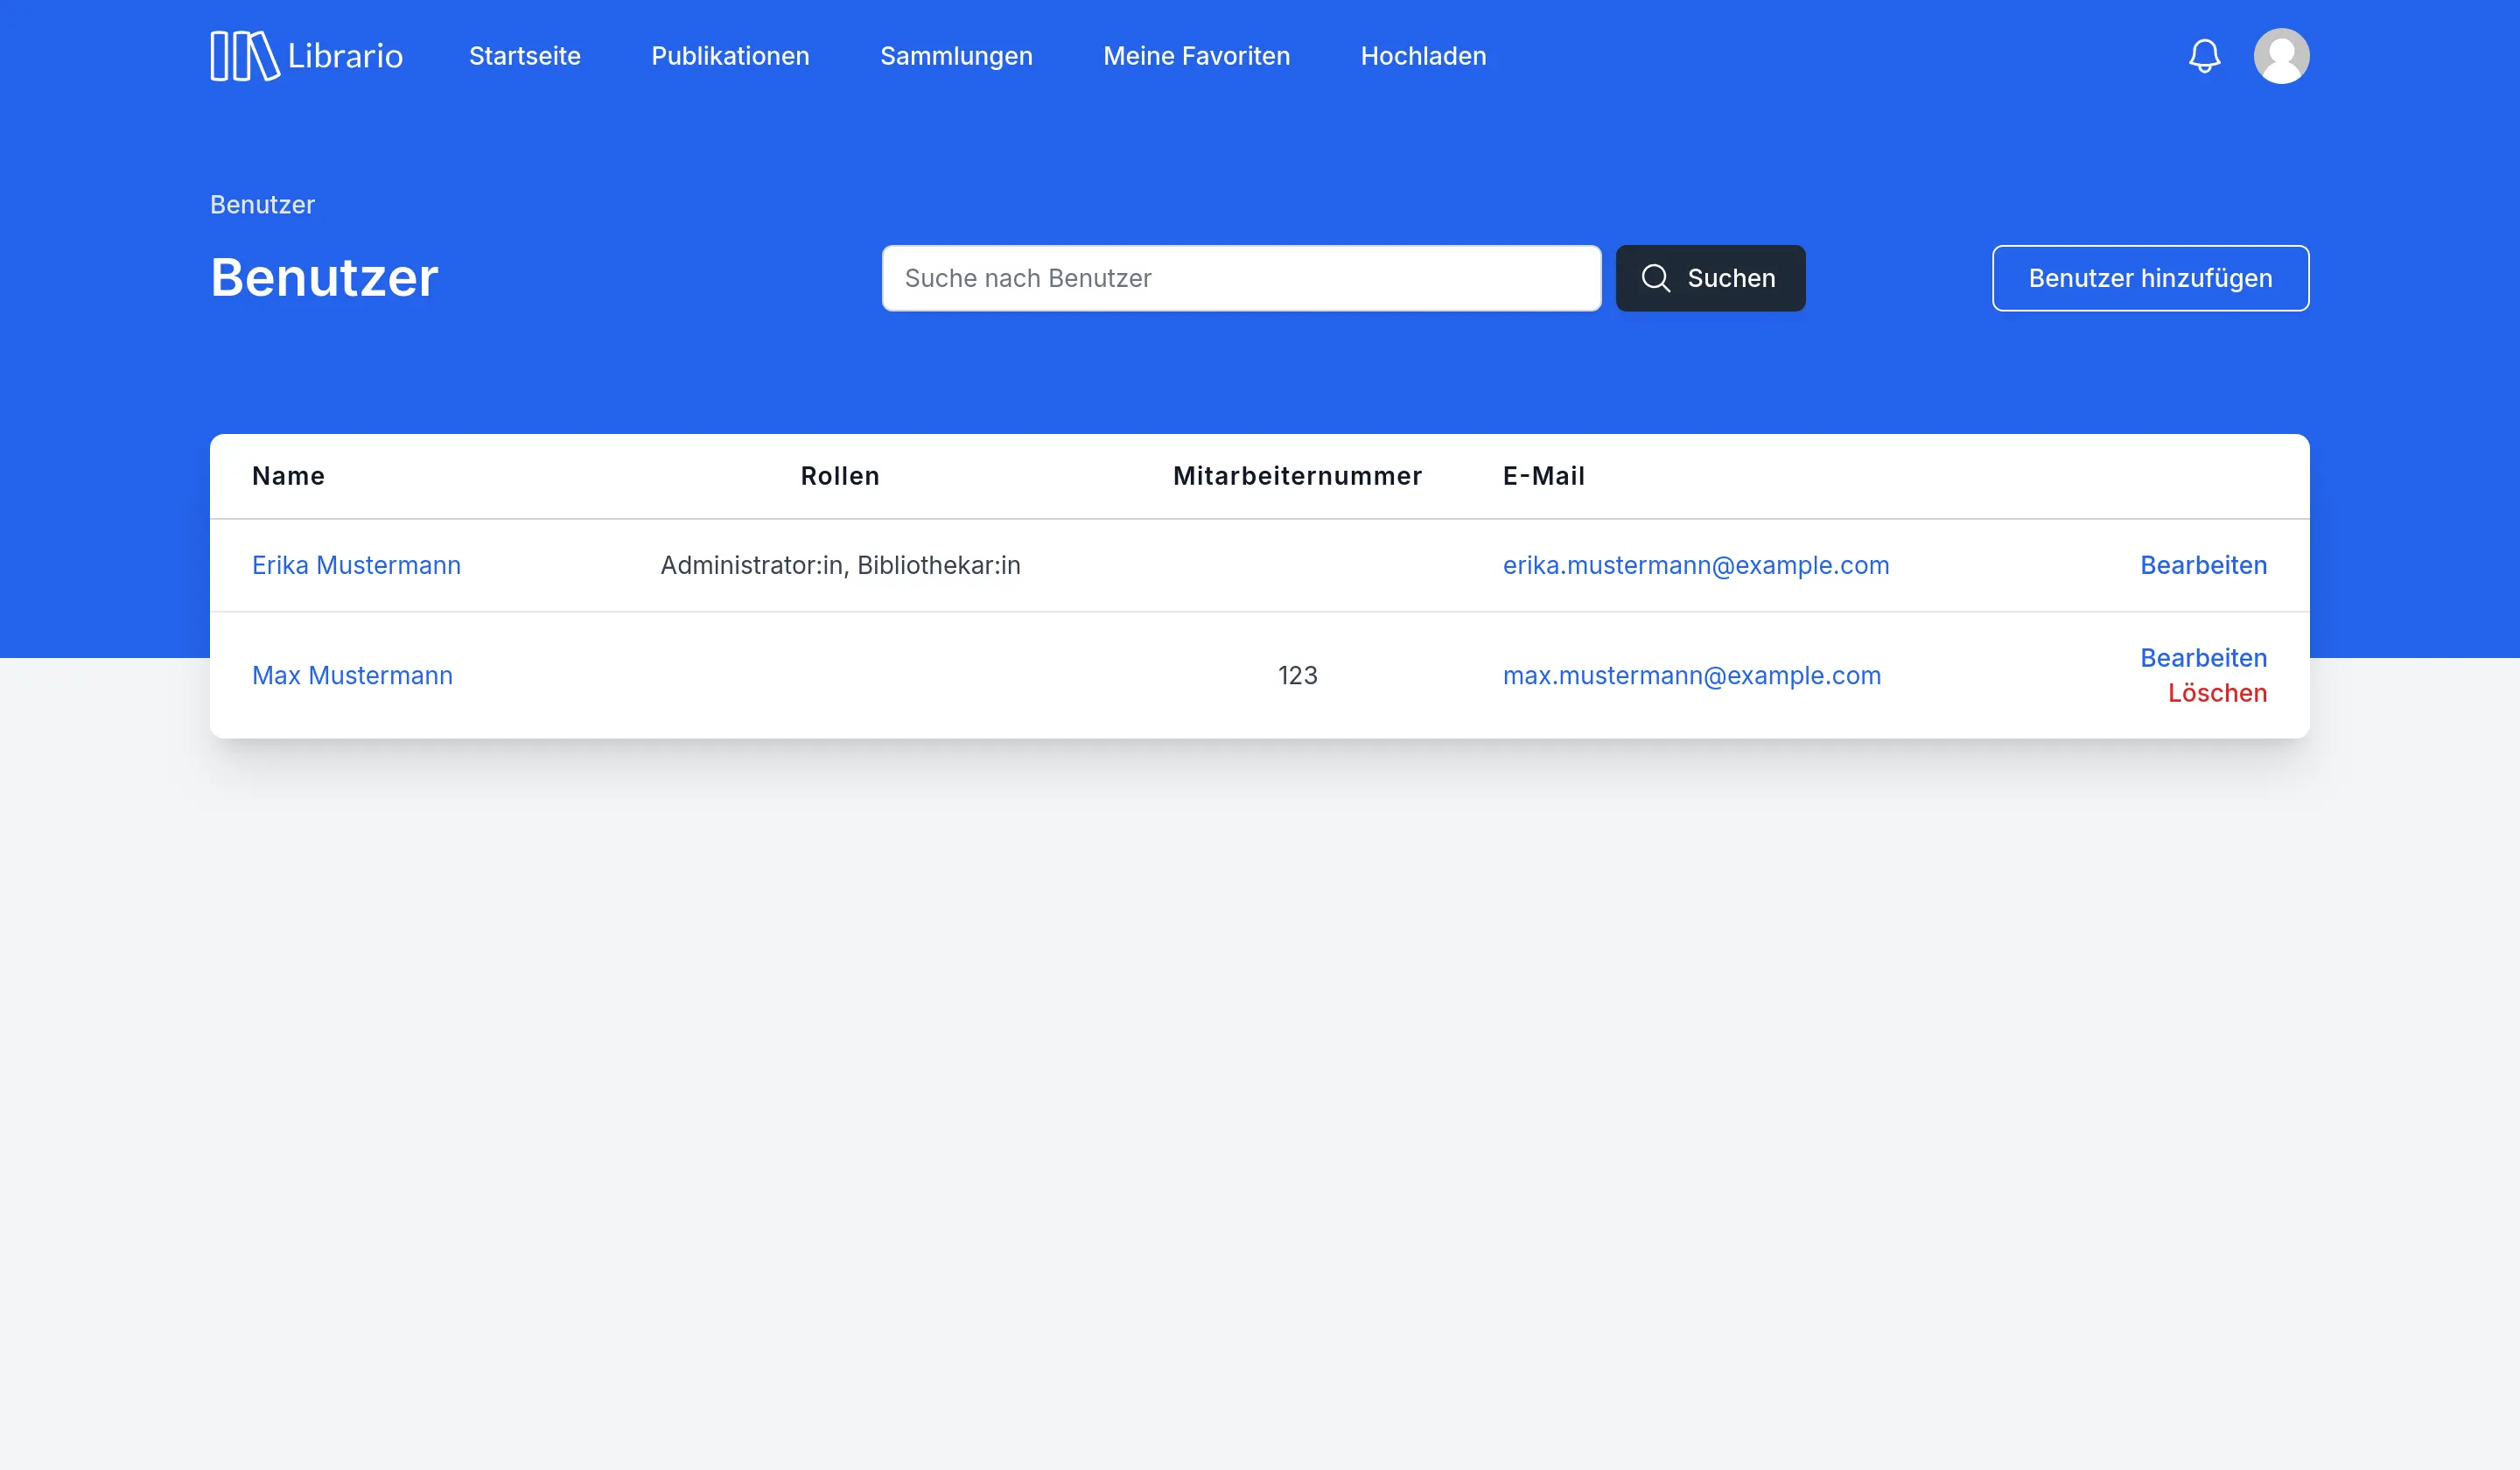
Screenshot of the German interface.
Add a user
To add a user:
-
Click Add new user
-
Fill in the fields of the form:
- Name: the person’s first and last name
- Email: their work email address
- Phone number (optional): their work phone number
- Employee number (optional): their internal personnel number
- Locale (optional): the language of the interface
- Privacy policy (required): confirm that the person has read Librario’s privacy policy
-
Under Roles & permissions, switch on the roles the person needs. Without a role they have basic access. Which role for whom? explains which role suits whom
-
Click Save
You rarely need to set the language
Without a choice, Librario takes the language from the person’s browser settings at their first sign-in. The invitation email goes out before that, in the language of your account. Choose a language only if the person reads a different language from the account language.
The initial password is sent by email
Once the account is created, the person automatically receives an email with their email address, a temporary password and the sign-in link. They can change the password themselves afterwards.
If you use single sign-on with Microsoft, you don’t need to create people in advance: Librario creates the user account automatically at their first SSO sign-in, as long as your plan has free seats. The new user has no role yet and so has basic access. If you still create a person here, they also receive the email with the temporary password.
Edit a user
You can change a user’s details at any time:
- In the user list, click Edit next to the person
- Change the details in the form
- Save your changes
Delete a user
Delete user accounts when employees leave
Make deleting user accounts part of your routine when employees leave. That way no unneeded access remains.
Librario does not sync leavers with Microsoft Entra ID automatically: there is no automatic deprovisioning (no SCIM provisioning). You therefore have to delete former employees in Librario by hand, ideally as a fixed step when someone leaves. Note: if you only deactivate the Microsoft account in Entra ID, the person can no longer sign in, but their user account in Librario remains and still takes up a seat. Delete the account to free the seat.
Deleting cannot be undone
You cannot undo the deletion of a user account. The user account and the person’s favourites are deleted for good. Loans, tasks and imports remain, but are no longer linked to the person. You cannot delete your own user account. Have borrowed copies returned before you delete someone, or those loans lose their link to the person.
With SSO, deleting does not lock someone out for good
If you use single sign-on with Microsoft, deleting a person in Librario does not stop them from signing in again: if they sign in via SSO again, Librario automatically creates the account again. Librario keeps no blocklist of deleted email addresses. The person is only locked out for good once you deactivate their Microsoft account in Entra ID or remove it from the permitted domain.
Export the user list
You can export the full list of all users as a CSV file:
- Click the download icon Export in the top right
- Select Export as CSV
- The CSV file downloads
If you searched first, the file only contains the users found.
For each person, the exported file contains:
- ID
- Email address
- First name
- Last name
- Employee number
- List of roles
- Phone number
- URL (direct link to the user profile)
Tip: compare with your employee directory
You can open the exported CSV file in a spreadsheet program and compare it with your current employee directory. This helps you find the user accounts of former employees systematically.